There are a ton of reasons why you would want to record your screen. You could be testing the functionality of a web page for a work project, or maybe you’re explaining to an older family member how to download and use an app. We’ll show you a quick tutorial on how to screen record on your iPhone so you do can guide someone in one step instead of 10.

How to screen record on an iPhone
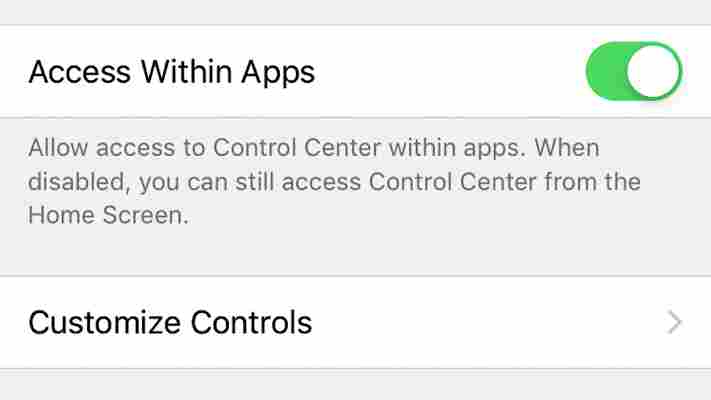
In your phone settings, scroll down until you reach the “Control Center”. Once there, click on “Customize Controls”.
On this page, you can choose which additional controls you can add to your Control Center. Scroll down in the “More Controls” category until you reach the “Screen Recording” tab. Next to it, a green button with a plus sign symbol appears.
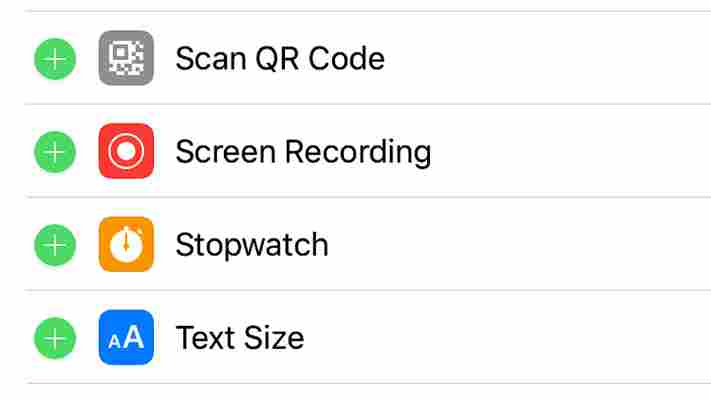
Tap the plus sign symbol, and “Screen Recording” will move up into your “Include” category. Now, swipe up from the bottom of your screen and your Control Center will pop up with buttons to toggle Wi-Fi, control volume, and your screen brightness. The button to start recording your screen looks like a target symbol. Tap it once, you’ll see a three-second countdown, and you’ll know the screen recording has started because the symbol will turn red.
When you’re finished screen recording, press the same button and it will stop. You’ll see a banner pop up to let you know where your recording has saved to, and most times it is in your photos. You’re all finished!
Once your recording is in your photos, you can send it as a text message, open it in social media apps like Twitter, or email it to a family member. No more frustrating calls to Mom to explain to her the process of adding a recipe to her favorites.
More on Wi-Fi
4 myths and facts about Wi-Fi networks
Which Wi-Fi extender is right for you?
How to boost your home Wi-Fi signal
How to secure your Wi-Fi network