Wireless security cameras are an excellent solution to keep homes and businesses secure without the need to lay cables. Proper installation provides solid connections, clear video, and dependable performance. Before you mount a camera, you should thoroughly prepare by evaluating your network, selecting the appropriate model, and choosing the ideal places. Good planning helps to avoid weak signals, blind patches, and poor image quality. Placement also has a significant impact on how much coverage you receive and if the camera operates well day and night. With the appropriate strategy, you can create a system that safeguards what matters.
How Do You Prepare for Wireless Security Camera Installation?
Check Wi-Fi Coverage and Speed
A wireless security camera uses a steady internet connection to relay real-time footage. Before placing the camera, test the Wi-Fi connection on your property with your smartphone. Weak regions or dead zones can cause delays, distorted visuals, and even lost feeds. If you see limited coverage, consider using a Wi-Fi extender or mesh system to boost the signal. Also, do an internet speed test to ensure that your upload speed can handle several video streams. A minimum of 2 Mbps upload speed per camera is suggested. Reliable connectivity guarantees that the system operates smoothly day and night.
Select the Right Camera for Your Needs
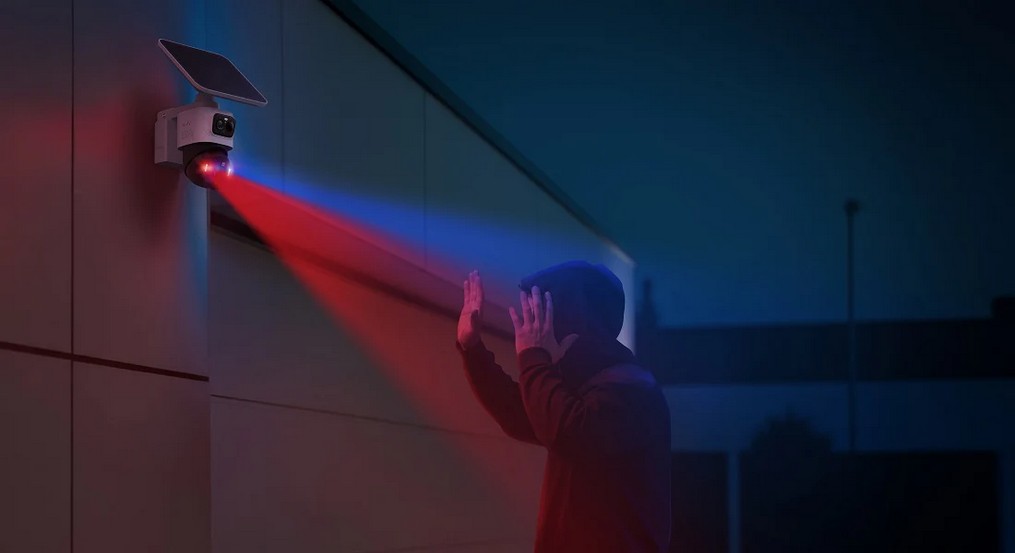
Choosing the correct camera is determined by your property's architecture and security requirements. Indoor cameras are ideal for monitoring corridors or living rooms, whilst weatherproof types are intended for outside use. If you need to monitor at night, use cameras with infrared or color night vision. Consider cameras with wide-angle lenses or pan-tilt-zoom capabilities for covering huge regions. Smart cameras with motion detection and cloud storage offer additional convenience and peace of mind. Consider whether you want local storage with an SD card or a network recorder. Matching features to your requirements saves money while ensuring efficient monitoring.
Gather Tools and Plan Installation Points
Before you begin, gather the essential equipment you will require, such as a drill, screws, anchors, and a ladder. Many cameras have mounting kits, so check the box first. Plan where each camera will be positioned by strolling around the property and marking crucial locations. To eliminate overlap or gaps in coverage, create a straightforward arrangement of camera placements and perspectives. If your cameras do not run entirely on batteries, place them near power sources. By preparing equipment and creating a clear strategy, you may prevent errors and accelerate installation. This step prevents frustration and provides a clean, successful setup.
Where Should You Place Wireless Security Cameras?
Cover Key Entry Points and Vulnerable Areas
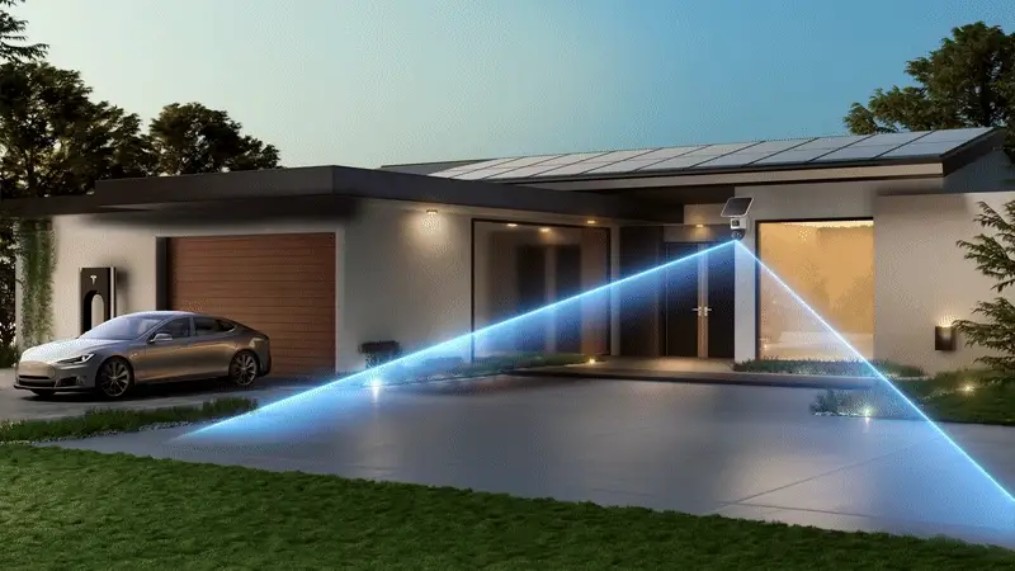
The primary purpose of installing security cameras is to monitor activity at entrances and weak points across the property. The most common entrance points for intruders are front doors, rear doors, and garage doors. Ground-floor windows are another prevalent entrance point that should be addressed. If your home has a driveway, install a camera to watch cars and guests. Install cameras in passageways that link important rooms in your house. Covering these regions ensures that you capture the most common points of entry. Strategic placement reduces blind spots and improves the protection of your home.
Consider Height and Angles for Better Coverage
Camera placement height and angle affect how much detail you capture. Mount outdoor cameras such as the eufycam s4 at least eight to ten feet above the ground to prevent tampering, but low enough to recognize faces. Angle the camera slightly lower to encompass the ground and the surroundings. Indoors, position cameras in corners of rooms to obtain the broadest field of view. Before final mounting, test multiple angles to ensure that you have covered all crucial zones. If feasible, utilize adjustable mounts so you may fine-tune the view afterward. Proper height and angle arrangement optimizes coverage while ensuring clear and usable film for evaluation.
Avoid Obstructions and Glare Issues
Objects that impede the camera's vision impair security efficacy. Avoid positioning cameras behind trees, shrubs, or fences that may obscure movement. Indoors, keep cameras away from curtains, shelves, and anything that might obscure film. Sunlight and artificial light may both generate glare and washed-out visuals. Avoid pointing cameras straight toward windows or bright lights. Instead, tilt the lens to eliminate reflections and increase clarity. Using weatherproof coverings or sunshields outdoors helps to reduce glare and rain impacts. Checking for impediments and resolving lighting concerns ensures that the footage remains clear and dependable throughout the day.
Conclusion
A properly fitted wireless security camera system gives you peace of mind and better safety for your property. Begin by prepping your network, selecting the appropriate cameras, and organizing installation sites using the proper tools. Then, concentrate on placement by covering important entrance points, adjusting height and angles, and avoiding obstacles or glare. Each stage increases the system's reliability and effectiveness. Clear planning not only saves time but also assures that the investment provides tangible security advantages. With proper setup, you can rely on your cameras to capture critical footage, discourage attacks, and keep you secure around the clock.