New printers these days generally connect to the internet, at which point they wait for a user to connect. If you have a Mac, these steps can help you whip out copies of your documents in no time.
1. First, when setting up your printer, make sure that it’s connected to the internet and secured in whatever fashion suits you best. It may remain unprotected for anyone nearby, or you can set Wi-Fi/passcode restrictions. Make sure to check the manual for your specific printer.
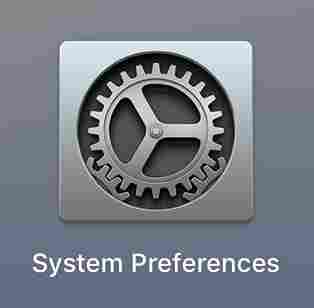
2. Open “System Preferences” on your Mac. This can generally be found on your taskbar and looks more or less like a gear (shown below). If you’re having trouble, type “System Preferences” in the Finder window, searching through the whole Mac.

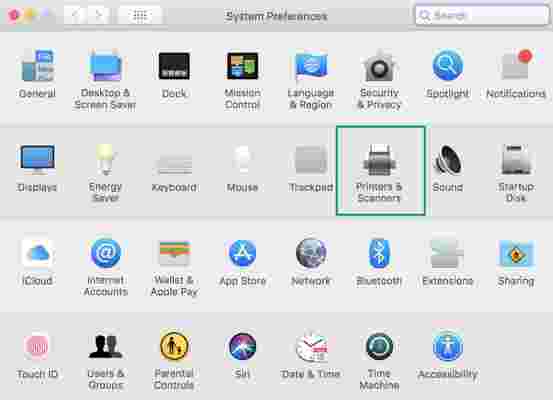
3. Within System Preferences, search for the “Printers and Scanners” section, which is generally alongside “Trackpad” and “Sound”. The locations may vary between computers.

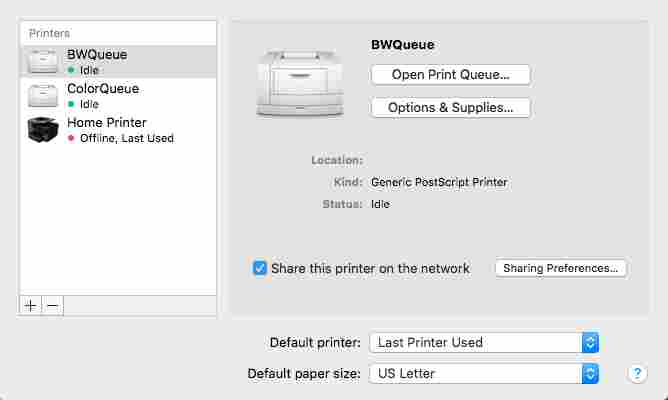
4. Within Printers and Scanners, you’ll see the printers your computer has connected to in the past, as long as they haven’t been purposefully removed. If you see yours here, click to select.

5. Not seeing yours? Select the “ + ” button at the bottom left of the printer window. This opens a new window, allowing you to select a default printer (in this case, the nearest usable printer), enter an IP address, or search for a new printer by name. As long as you know your printer’s description and have ensured it is connected to the internet, this process should go smoothly.
6. Select your printer. If it is your home printer, you may wish to designate it as your default. To do this, go back to the “Printers and Scanners” menu, which has “Default printer” bar at the bottom, which will allow you to select either one of your queued printers or revert to the last printer used.
A Few More Settings
Within the main Printers and Scanners screen, you may also see the “Print Queue”. This window, shown below, lets you know what print jobs your current printer is waiting to do. This is where to cancel those print jobs as well.
The “Options and Supplies” tab allows you to do two important things: name the printer and check the supply levels.
“Share this printer on the network” gives you the choice to let other computers use your printer, and gives a number of settings to delineate how and in what way that works.
Finally, below the default printer section, you can select “Default paper size”. Generally, this will be set to US Letter (8.5 x 11 inches), but some printers are capable of doing more. If you’re mainly printing shipping labels on envelopes, this tab may make your life easier.
Troubleshooting
So, you’ve tried restarting both your computer and the printer, but nothing’s working. Here are a few possible problems, along with techniques to fix them:
We hope this guide helps. However, if your problem still isn’t fixed, you may need to try another source. More in-depth manuals are available online, for a start. If that doesn’t suit your need, consider calling or visiting an Apple store: their employees are known for knowledgeable and effective service.
How to take a screenshot on a Mac